Next Plumbing & Drain

Author: andre

  • What You Need to Know About T&P Valves on Hot Water Heaters

    What You Need to Know About T&P Valves on Hot Water Heaters

      How Does a Temperature & Pressure (T&P) Relief Valve Work?

      Recently, I came across a very dangerous situation with electric water heaters, one that Next Plumbing thinks needs to be addressed. A capped or plugged water heater T&P valve is one of the worst “band-aid” fixes you could ever do in your house. Doing so creates the grounds for a potential bomb or missile in your basement! Although rare, the threat of a water heater explosion is very real. It is crucial to hire an experienced and licensed plumber to fix your water heater instead of using DIY “band-aid” fixes.

      Contact Next Plumbing to schedule your next water heater service in Fort Myers.

      The T&P valve, or temperature and pressure relief valve, is one of the most important safety devices in your home. If the temperature rises above 210 degrees Fahrenheit or the pressure exceeds 150 psi, the valve will open and relieve the pressure inside the tank.

      In doing so, a small amount of water will also be dispensed onto the floor. Unfortunately, many people mistake this for a leak or a water heater failure, when in fact, it may simply be doing what it is designed to do. If you ever see water on your floor around this area, you should call a plumber right away. The valve may be failing, in which case it should be replaced, or you may have excessive pressure in your tank, which should be tested for.

      If you happen to have a pressure reducing valve installed on your main water line, you should pay special attention to this. A pressure reducing valve creates a closed system in your home, and will not allow for thermal expansion. If you have one of these, AND your T&P valve drips occasionally, you may need a thermal expansion tank installed.

      Now that you know what it looks like, and what it does, take the time to check it and make sure yours IS NOT CAPPED OR PLUGGED and that it works properly. You can lift the little handle on it like the picture shows. Sometimes you may need to let the handle snap back down to reseat it properly. If it continues to leak a little, it either has some debris in it or the spring is failing. You can try and open it a few times to remove any debris. If this does not take care of it, call a plumber and have it replaced. Make sure there is a relief tube extending to the floor in case the heater must discharge. This is to prevent accidental scalding. Also, you should not have threads on the bottom of the relief tube. This will ensure that a cap cannot be screwed onto the bottom.

      T&P Valves on Residential Water Heaters

      Temperature and pressure (T&P) relief valves used on residential water heaters are typically designed and manufactured to relieve on pressure at 150 psig and on temperature at 210 degrees F. These ASME, ANSI and CSA (AGA) approved relief valves protect the water heater from excess pressures and temperatures by discharging water.

      In normal operation of the water heater and T&P valve, no water should be discharged from the valve. A T&P valve that discharges is an indication of an abnormal condition in the system and by discharging, the T&P valve is meeting its designed safety purpose. The causes of discharge can be thermal expansion, excess system pressure, low temperature relief, too high a setting on the water heater, or something in the water heater causing excess temperatures in the heater.

      Thermal Expansion in Water Heater Tanks

      When water is heated it expands. In a 40 gallon water heater, water being heated to its thermostat setting will end up expanding by approximately 1/2 gallon. The extra volume created by this expansion has to go somewhere or pressure will dramatically increase, such as when water is heated in a closed system.

      A good indication of thermal expansion is when the T&P valve releases about one cup of water for each 10 gallons of heater capacity with each heating cycle. The T&P valve is functioning properly when it relieves pressure caused by thermal expansion, but frequent relief can build up natural mineral deposits on the valve seat, rendering the valve inoperative. This condition can be addressed by the installation of a Watts thermal expansion tank or other Watts thermal expansion device to protect your system from overpressure caused by thermal expansion. If there is no discharge from the valve, there is no need to replace the valve.

      Dripping T&P Valve? Check System Pressure

      If installation of a thermal expansion device does not relieve occasional dripping from the T&P valve, then the system pressure should be checked. If system pressure is excessive (typically more than 75 PSI), a Watts pressure regulator should be installed on the incoming water line.

      WARNING: The discharge from a T&P valve can be very hot. It is very important that all T&P valves be installed properly with a discharge line piped downward to an adequate drain to avoid property damage and to minimize possible human contact. Please read and follow the instructions on the warning tag attached to your T&P valve.

      Correct Installation of T&P Relief Valves

      Important Instructions: Relief Valves and Automatic Gas Shut-Off Devices Combination temperature and pressure relief valves with extension thermostats must be installed so that the temperature-sensing element is immersed in the water within the top 6″ (152mm) of the water storage tank. They must be installed either in the hot outlet service line or directly in a tank tapping. Combination temperature and pressure relief valves that do not have extension elements must be mounted directly in a tank tapping located within the top 6″ (152mm) of the water storage tank. Valves must be located so as to assure isolation from flue gas heat or other ambient conditions that are not indicative of stored water temperature.

      WARNING: To avoid water damage or scalding due to valve operation, discharge line must be connected to valve outlet and run to a safe place of disposal. Discharge line must be as short as possible and be the same size as the valve discharge connection throughout its entire length. Discharge line must pitch downward from the valve and terminate at least 6″ (152mm) above a drain where any discharge will be clearly visible. The discharge line shall terminate plain, not threaded. Discharge line material must conform to local plumbing codes or ASME requirements. Excessive length over 30′ (9.14m), or use of more than four elbows or reducing discharge line size will cause a restriction and reduce the discharge capacity of the valve.

      No shut-off valve shall be installed between the relief valve and tank, or in the discharge line. Valve lever must be tripped at least once a year to ensure that waterways are clear. When manually operating lever, water will discharge through discharge line and precautions must be taken to avoid contact with hot water and to avoid water damage. This device is designed for emergency safety relief and shall not be used as an operating control. If discharge occurs, a licensed contractor must evaluate the system and determine the cause for discharge and correct the cause immediately.

      To ensure proper operation, this valve must be installed by a qualified service technician or licensed plumbing contractor in accordance with these instructions and the local plumbing codes and standards. Repair or alteration of valve in any way is prohibited by national safety standards/local codes.

      FOR HEATERS WITH DIRECT TOP TAPPING:

      Always use an extension type thermostat T&P relief valve which permits the end of the thermostat to extend into the top 6″ of the tank.

      FOR HEATERS WITH DIRECT SITE TAPPING:

      • FOR EXTERNAL FLUE HEATERS: Use extra length extension thermostat to extend into water storage tank.
      • FOR INTERNAL FLUE HEATERS: Use short or standard length thermostat. Vertical discharge line must be installed with its direction downward.

      “ALTERNATE” ONLY WHEN THE TAPPINGS ARE NOT PROVIDED:

      Use standard or extra length extension thermostat which permits the end of the thermostat to extend into the top 6″ of the tank.

      Important: A relief valve functions, in an emergency, by discharging water. Therefore it is essential that a discharge line be piped from the valve in order to carry the overflow to a safe place of disposal. The discharge line must be the same size as the valve outlet and must pitch downward from the valve.

      Annual Operation of T&P Relief Valves

      WARNING: Following installation, the valve lever MUST be operated AT LEAST ONCE A YEAR by the water heater owner to ensure that waterways are clear. Certain naturally occurring mineral deposits may adhere to the valve, blocking waterways, rendering it inoperative. When the lever is operated, hot water will discharge if the waterways are clear. PRECAUTIONS MUST BE TAKEN TO AVOID PERSONAL INJURY FROM CONTACT WITH HOT WATER AND TO AVOID PROPERTY DAMAGE. Before operating lever, check to see that a discharge line is connected to this valve, directing the flow of hot water from the valve to a proper place of disposal. If no water flows when the lever is operated, replacement of the valve is required. TURN THE WATER HEATER “OFF” (see your water heater instruction manual) AND CALL A PLUMBER IMMEDIATELY.

      Reinspection of T&P Relief Valves

      WARNING: Temperature and Pressure Relief Valves should be inspected AT LEAST ONCE EVERY THREE YEARS, and replaced, if necessary, by a licensed plumbing contractor or qualified service technician, to ensure that the product has not been affected by corrosive water conditions and to ensure that the valve and discharge line have not been altered or tampered with illegally.

      Certain naturally occurring conditions may corrode the valve or its components over time, rendering the valve inoperative. Such conditions can only be detected if the valve and its components are physically removed and inspected.

      Do not attempt to conduct an inspection on your own. Contact your plumbing contractor for a re-inspection to assure continuing safety. FAILURE TO REINSPECT THIS VALVE AS DIRECTED COULD RESULT IN UNSAFE TEMPERATURE OR PRESSURE BUILD-UP WHICH CAN RESULT IN SERIOUS INJURY OR DEATH AND/OR SEVERE PROPERTY DAMAGE.

      If discharge occurs, CALL A PLUMBER IMMEDIATELY. Discharge may indicate that an unsafe temperature or pressure condition exists which requires immediate attention by a qualified service technician or licensed plumbing contractor.

      TYPICAL I

      Caution: Valve must be installed so that temperature sensing element is immersed in the water within the top 6″ (152mm) of the tank.No valve may be placed between the relief valve and water tank.Install in hot water outlet or in extra side relief valve tapping if one is provided.To avoid water damage, discharge line must be run to a safe place of disposal and must pitch downward.Do not install a shut-off valve, plug, or cap in the valve discharge line.Follow local codes where they vary from these instructions.

      The Benefits of Electric Water Heaters

      As with most homeowners, you probably only think about your water heater when there is no hot water for your shower or you notice a puddle underneath the water heater. Whatever the reason, when it is time to buy a water heater, consider electric ones because they offer features that ensure a long life and an economical supply of hot water.

      One great feature of many types of electric water heaters is a non-metallic storage tank. Manufacturers of these tanks warranty them against leakage, eliminating a major cause of early water-heater failure. And if you live in an area with corrosive water, you’ll find this feature to be especially cost-effective.

      Another factor to look for when you’re shopping for a new electric water heater is the amount of built-in insulation it offers. Although this type of water heater generally costs more than one with minimal insulation, you’ll be saving money in the long run by reducing the amount of electricity needed to keep the water hot.

      Also, be sure to compare federal Energy guide labels on electric water heaters before you choose one. The Energy guide label will give you the unit’s estimated annual energy cost. A high-efficiency electric water heater costs more than an inefficient one, but you will be paid back through lower electric bills.

      Electric water heaters come in a variety of shapes and sizes, and unlike a gas water heater, you don’t have to install gas pipelines or flues. An electric water heater, therefore, can be installed closer to the rooms that use hot water.

      THE RESULT:

      Less water is wasted going down the drain while you wait for it to get hot, and less energy is wasted heating water that ends up in the pipeline between a faucet and a distant water heater.Overall, an energy-efficient electric water heater is the long-term smart choice for clean, quiet and economical hot water.

      Controlling your water heater allows you to take full advantage of the efficiency of the storage tank. This allows water to be heated during non-peak hours for use throughout the day. Automatic timers can do the job for you. Properly sized water heaters provide enough hot water to meet your needs round the clock.

    • Repairing Pipe Leaks in Cold Weather

      Repairing Pipe Leaks in Cold Weather

        Tips to Handle Winter Plumbing Leak Issues

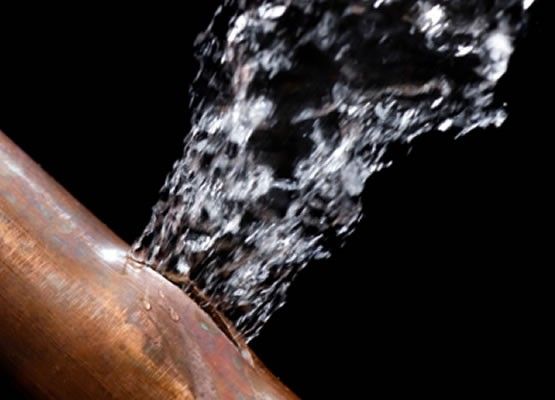
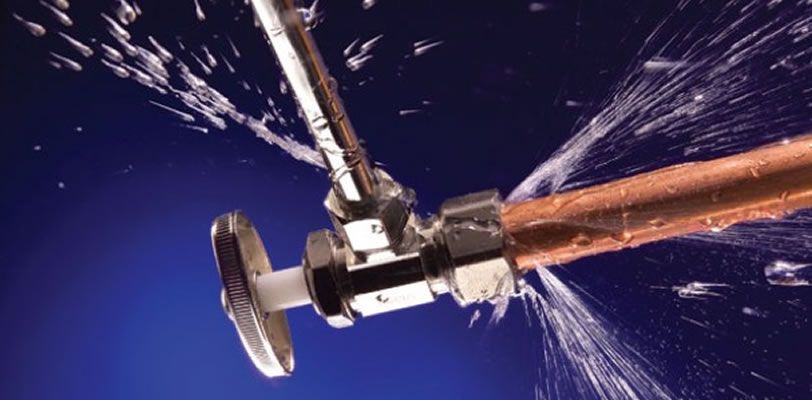
        The thin copper pipes that carry hot and cold water in most homes are normally durable and long-lasting, but sometimes develop leaks that can cause severe damage.

        At Next Plumbing, we know pipe leaks are especially common during cold weather when frozen water in the pipes can cause pipe walls to crack or poorly soldered joints to loosen. Do-it-your-selfers can sometimes make temporary repairs to keep water pipes in service until permanent repairs are made by replacing damaged pipe and fittings. Temporary repairing pipe leaks allow toilets, sinks and other plumbing fixtures to remain in use. Before temporary pipe repairs are discussed, however, another point for dealing with a water emergency should be stressed: Every occupant of a home, including older children, should know the location of the main water valve and know how to turn it off. Simply turning off the water at the main valve can prevent a burst pipe or other plumbing emergencies, such as an overflowing toilet or tub, from becoming a home flood. We can provide you with our expert leak detection technicians to provide the help you need.

        Where is the Water Shut Off Valve Located?

        There is no standard location for a main water valve, but in homes, with basements, it is usually near the water meter or water pump. In other homes, the main valve is sometimes under the kitchen sink. If in doubt about the location of the valve, have it pointed out the next time a plumber visits the home. When the valve is located, identify it with a large tag. Main valves, and other water valves are generally closed by turning the handle clockwise.

        Homeowners should also familiarize themselves with the location of shutoff valves to individual fixtures, such as toilets, sinks and tubs. Those individual shutoff valves are often on inlet pipes under the fixtures. Since water valves tend to bind and become hard to close, it pays to spray the stems occasionally with a little lubricant and turn the handles to keep them free. The all-purpose lubricant WD-40, sold at most hardware stores and home centers, is a good choice. If a water pipe develops a leak, the first move should be to turn off the main water valve. Once the water is off, pipe repair can be considered. Temporary repairing pipe leaks are often expedient because many water emergencies happen at awkward times – on weekends or at night when getting a plumber or parts for permanent repairs is often difficult or impossible.

        Temporary Pipe Leak Repair Options

        • Special clamp-type pipe sealers used to temporarily repair a leak are available at some hardware stores. These generally consist of two mating plates that are screwed together around the pipe. A rubber gasket is placed over the leak and compressed against it by the clamp.
        • Ordinary hose clamps, sold at hardware stores and auto-parts stores, and a piece of sheet rubber can temporarily seal many pipe leaks. Rubber can be cut from an old inner tube from an automobile or bicycle. The hose clamps – the type with screw tighteners – should be a bit larger in diameter than the pipe. For example, use a clamp that opens to at least 3/4 inch to repair a 1/2-inch pipe. To seal a small leak, one clamp compressing rubber directly over the hole will often do. For larger cracks or holes, extend the rubber well past the defect on both sides and use several clamps spaced along the rubber. When the rubber and clamps are in position, turn the clamp screws tight.
        • Special repair tape will seal small holes or leaks at pipe joints. This “melding” tape is wrapped tightly around the defect and bonds to itself and the pipe to form a solid seal. It would be wise to prepare a small kit of emergency pipe-repair devices and keep the kit in an easily accessible place – near the main water valve, for example.

        If you need pipe repair in the Fort Myers area, give Next Plumbing a call today at (239) 307-0404 or use our online form.


      • Unclogging Sink Drains

        Unclogging Sink Drains

          How to Unclog a Sink

          A clogged sink drain can happen to anyone, anytime (usually just before company arrives) and isn’t much fun! There are a few basic steps you should follow to get the drain unclogged. Don’t start with a chemical drain opener. This might seem like the easiest way to tackle a clogged drain but the fact is, most chemicals strong enough to take on a clog can do a heck of a lot of damage to your hands, face or whatever they come in contact with, so try your other options first.

          A plunger, commonly called a plumber’s friend, can often clear up the problem. Plug up the overflow hole if there is one. If you’re working on a double sink, block the other drain with a stopper or wet rag for more suction power. A thin layer of petroleum jelly around the base of the rubber plunger will also help give you a tighter fit and better suction power.

          You should also have enough water in the sink to cover the base of the plunger. Usually this isn’t’t a problem because the sink is likely to be overflowing. Place the plunger over the drain and push down. Pull back up just a little and repeat 10 to 15 times. You can feel the force on the down stroke and the suction on the up stroke. Then pull up quickly. If all goes well, the water will go swooshing down the drain. You can do this as many times as you want, but if it doesn’t’t work after the first few times, it’s probably not going to.

          Even if this doesn’t’t work, it’s good exercise! Every sink will also have a trap, which is a “U” shaped drain, located directly under the sink. Bail any water out of the sink and then put a bucket under the trap. Remove the trap by loosening the slip-nuts that hold it on tight. If your trap has a clean-out plug at the bottom of the “U,” you can just remove this plug and get at the clog through there.

          If the clog is farther down the line, you can use an auger or snake to clean the pipe out. You can go at it from the drain, or, if the trap is off, start there. If you still can’t get at the clog, close up the trap and try the chemical drain opener. To prevent drains from clogging, try this formula once a month. Mix together 1 cup of salt, 1 cup of baking soda and a quarter-cup of cream of tartar. Pour a quarter cup of the mixture down your drain followed by 2 cups of boiling water. After a minute, flush the drain on out. Keep the mixture in a jar with the lid on tight.

        • Handling Plumbing Problems

          Handling Plumbing Problems

            Plumbing Problems – How To Handle Them

            Usually, after you buy a house, problem areas start to show and plumbing problems to crop up. Doors start to creak and walls deteriorate. Most of all, in case you bought an older house, the initially functional plumbing system can turn into a nightmare for the homeowner. Many plumbing issues happen in the bathroom or kitchen. Whether it’s a leaky sink or a clogged toilet and bathtub, it’s only a matter of time before you start experiencing plumbing problems in your home.

            The worst way in handling plumbing problems in your home is to be unprepared for all potential issues that might take place. Imagine living in a house where none of the plumbing systems function! This is why every homeowner must educate himself on this subject before the problems start to show. Firstly, make sure you have the basic plumbing tools in your house so that you can fix the most common plumbing issues by yourself. Also, you should find several dependable local plumbers with whom you should build connections and call in case some more complicated problems occur.

            Plumbing isn’t all about clogged drains and leaky pipes. It also includes water heaters and septic systems and when problems start to occur in this area, you shouldn’t tackle them on your own, but rather hire a professional plumber.

          • Fixing Common Plumbing Problems

            Fixing Common Plumbing Problems

              Troubleshooting Common Plumbing Issues

              A correctly designed and installed home plumbing system is practically trouble-free of most plumbing problems. But even the best systems can develop problems from time to time – everything from burst and leaking pipes to clogged drains. Here are some of the most common home plumbing problems and suggestions for dealing with the unexpected trouble:

              Shut off the water

              When you see water leaking from a pipe or coming through a wall, shut off the water to prevent serious damage. Similarly, when a toilet or dishwasher overflows, the first step is to stop the flow of water. Most plumbing systems provide numerous shutoff valves. Sinks and lavatories have individual shutoff’s for hot and cold water. Most are located just underneath the fixtures they control; some are in the basement, utility room or crawl space below. Leaks or overflowing that cannot be stopped at a fixture can always be stopped by closing the main shutoff valve that controls the flow of all water into the house. The shutoff is usually located near the water meter or at the wall where the main enters the house. Close all shutoff valves by turning their handles clockwise. Be sure to familiarize yourself with all shutoff’s in your house – especially the main shutoff – so you can get to them without delay in an emergency.

              Pipe leaks

              Corroded joints and frozen pipes are the common cause of leaks. Tightening a threaded joint or re-soldering a soldered joint may cure the problem. Burst pipes can sometimes be mended with a clamp-on pipe patch. If not, they must be replaced. Emergency clamps can be made of a piece of rubber and C-clamp.

              Leak in wall

              The common cause of a leak in a wall is a faulty riser pipe to a shower or to fixtures on the next floor. It’s best to get professional help for this kind of problem. A plumber will tell you whether he can make the repair – installing new pipe – with or without cutting a hole into the covering wall. Some communities insist upon access panels to pipes located behind walls.

              Overflowing toilet tank

              A toilet tank overflowing into the bowl will be heard running long after flushing. To stop the water flowing, close the tank shutoff between the tank and floor. To fix the problem, lift the float ball in the tank while the water is still running. If the flow stops, bend float arm to lower the ball a bit. If this fails, you may need to replace the inlet valve washer, the valve seat or the entire inlet valve unit.

              Overflowing dishwasher

              First, turn off the water supply to the dishwasher. Then check the screen around the drain. It may be clogged with grease or a rag. If water keeps flowing in after the shutoff valve has been turned off, electrical controls may be at fault. Turn off current, or pull the plug on a portable mode. Get professional help.

              Sluggish or stopped sink drain

              Try clearing the blockage using a rubber force cup. If that fails, try a chemical drain opener, carefully following the directions on the container. If this doesn’t’t work either, put a pail under the trap and remove the plug. Use a wire to remove the debris, usually hair and grease. Replace the plug and run scalding hot water.

              Restricted water flow

              Old houses and those located in hard-water areas sometimes suffer restricted water flow due to scale buildup in pipes. To check, turn water on full force, first making sure all valves are fully open. If the water comes out fast and then slows, there is a restriction in the pipe. To cure the problem, you will have to replace all affected pipes. Avoid galvanized pipes as they are prone to scaling.

            • Bathroom Faucet Installation

              Bathroom Faucet Installation

                Bathroom Faucet Installation for Do-It-Yourselfers

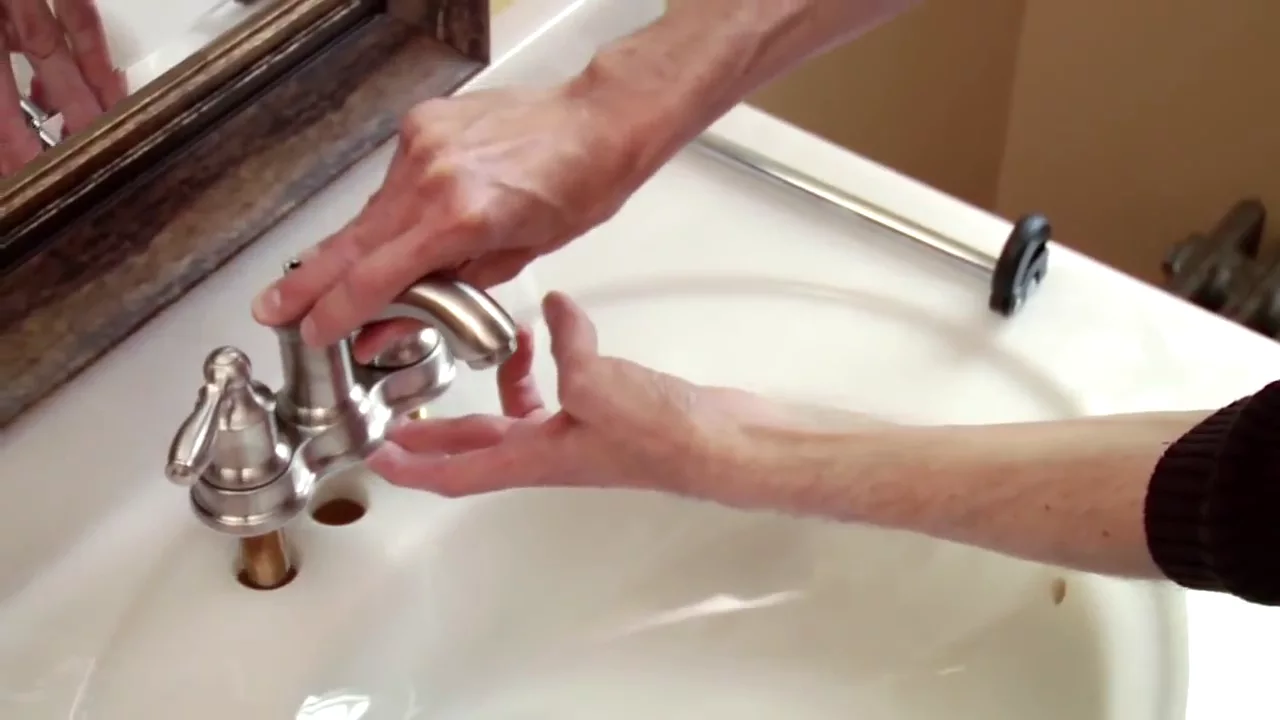
                Do-It-Yourself Bathroom Faucet Installation by Moen: This Do-it-Yourself video from Moen quickly runs through all the parts, tools, precautions and steps you need to give your bathroom a new look by properly installing a new faucet.

              • Replacing A Toilet

                Replacing A Toilet

                  How to Install a New Toilet

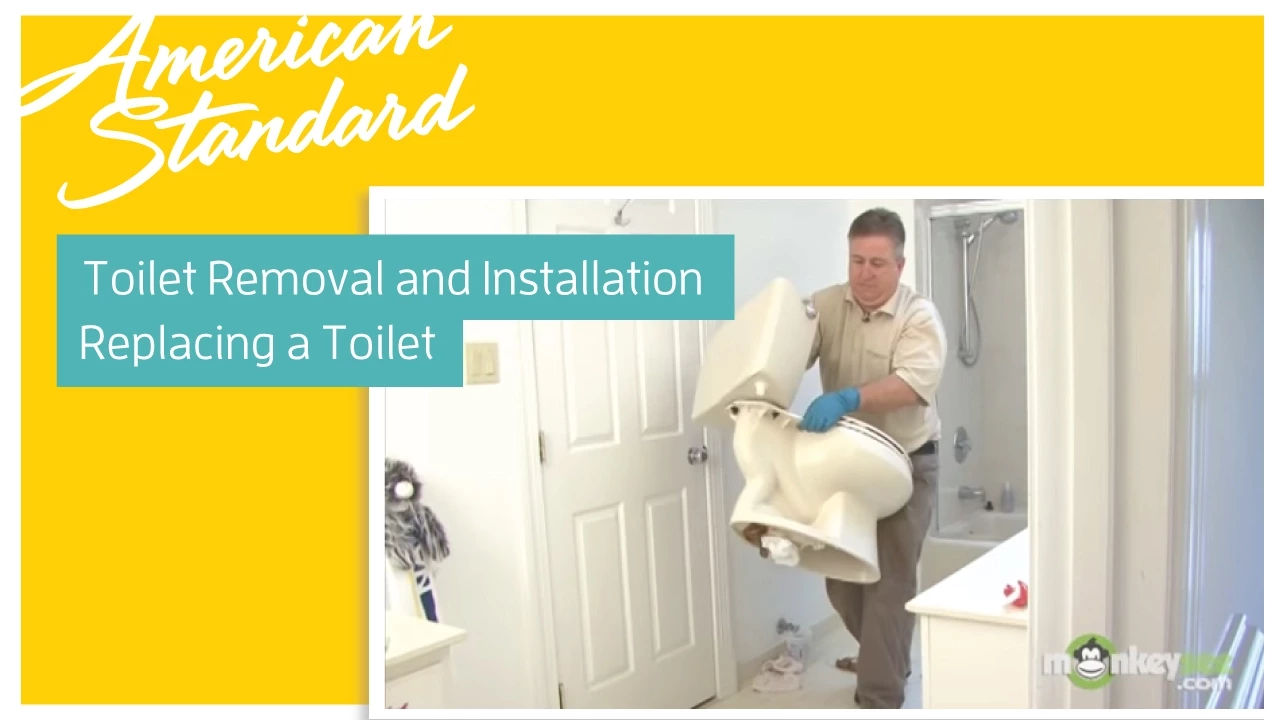
                  Watch this video “Replacing A Toilet”: How to remove an existing toilet and replace with a new high-efficiency American Standard toilet. Overview done by a master plumber and the first green plumber. www.asknextplumbing.com

                • Plumbing Leaks

                  Plumbing Leaks

                    8 Smart Tips To Stop Plumbing Leaks

                    1. Locate your home’s main water shut-off valve. If there’s ever plumbing leaks, you can go straight there and quickly turn off the water to the entire house.
                    2. Install shut-off valves at individual appliances and fixtures. That allows you to keep water flowing in other areas of the house while making site-specific repairs. Expect to pay $4 to $10 for each valve; expect to pay $50 to $75/hour for professional installation.
                    3. Install a flow sensor that detects plumbing leaks and automatically shuts off water to the entire house or a specific appliance. You’ll pay approximately $75 for this device, plus installation charges of $150.
                    4. Remove hoses from outdoor spigots in winter to prevent frozen water from cracking the pipes and causing plumbing leaks, or worse, a flood. Install frost-free hose bibs at exterior spigots.
                    5. Add pipe insulation to the plumbing in cold parts of your house—such as garages, basements, and crawl spaces—to avoid frozen pipes (and to shorten the wait for hot water). Pipe insulation tubes cost as little as 35 cents per foot.
                    6. Don’t use exposed pipes as hanger rods for laundry or to store clothes. Doing so can loosen joints and fasteners and lead to plumbing leaks.
                    7. Don’t overload vanities and sink cabinets. When you crowd stuff into your cabinets, you can jostle water supply pipes and drains, loosening connections and causing plumbing leaks. If drips occur, they’re tough to spot amid piles of cleaners and spare TP.
                    8. Fix problems quickly. Even small leaks can make pipes corrode more quickly, and cause significant water damage or mold. Take the time to periodically scout for signs of leaks and drips.
                  • Home Plumbing Systems

                    Home Plumbing Systems

                      Basic Home Plumbing: What You Need to Know

                      Simple plumbing jobs, such as replacing a washer in a faucet or unclogging a sink, do not require a lot of skill. However, for larger jobs, you may need not only some basic know-how but also a permit or license for your home plumbing system issues.

                      Home plumbing systems involves two areas:

                      The water supply system and the drain-waste-vent (DWV) system. Water enters the house through a main service pipe. Near the point of entry, you’ll usually find the main shut-off valve and often a water meter. Inside the house, the water travels under pressure through hot and cold supply pipes. Attached air chambers cushion the pressure-driven water when a faucet or appliance is turned off.

                      The larger DWV pipes carry used water and waste out of the house. Waste pipes carry water; soil pipes carry the discharge from toilets. A trap under the drain for each fixture keeps foul air from seeping into the house. Roof vents allow sewer gas to escape, thus balancing the air pressure in the system.

                      Pipes

                      In many older homes, the electrical system is grounded to a steel cold-water pipe. Before splicing plastic pipe into such a line, make sure the line doesn’t function as the grounding conductor. If it does, use metal pipe to make the repair. If you detach a grounding wire when making a plumbing repair, make sure to reattach it.

                      Different types of metal pipe can be found in homes. Copper, brass and galvanized pipes are rust-resistant and used for water lines. Less expensive un-galvanized black pipe, which rusts more readily, is used only for gas lines.

                      Threaded pipe is referred to by its inside dimension; 1/2-inch and 3/4-inch are the most common sizes. Before replacing threaded pipe or adding it to a line, make sure you have enough new pipe.

                      When estimating the length of a pipe you need to remember to allow for the overlap at joints. Plastic pipe also serves different functions. CPVC (chlorinated polyvinyl chloride) pipe is used as water supply pipe. While CPVC and PVC (polyvinyl chloride) pipes have equal chemical resistance, CPVC pipe has better resistance to high water temperatures. PVC and ABS Schedule 40 pipe are both used for drainage and vent systems.

                    • Hiring A Contractor

                      Hiring A Contractor

                        What To Look For When Hiring Plumbing Contractor

                        The first thing to consider when hiring plumbing contractor is, does the contractor have insurance? Ask him or her for a certificate of insurance. If he or she is hesitant to comply with your request, think twice when hiring a contractor with this attitude.

                        Payments

                        Be weary of contractors who ask for substantial down payments or request a check made out to a party other than the firm name on the contract and/or invoice.

                        Contract – Never sign a blank contract!

                        Make sure everything is in writing and keep a copy of everything you sign. Be sure you know exactly how much the job will cost before it starts.

                        Waiver of Lien

                        Insist on a “Final: Waiver of Lien” from each subcontractor supplying materials and labor for the job. If the general contractor doesn’t pay his subcontractors, they may be able to enforce a mechanic’s lien against your property and prevent you from selling it.

                        Dangers of hiring an unlicensed person . . .

                        Craigslist

                        Well where do I start?

                        I am sure that by now someone has told you how you can hire cheap workers through your local Craigs List and save a lot of money on projects on your house and other things.

                        What I am going to tell you now should alert you to be cautious.

                        Most the time these people that you hire through Craigslist are not fully licensed (no permits = illegal additions. If you like your homes value now, add a few of these) Even if they are and they are moonlighting for some extra side cash, they are not insured for your repairs. What that means is that if something goes wrong they will not repair it for free like normal licensed contractors will.

                        You have to be careful with some of the work you do on your house and your car. For instance what if they were to mess up the brakes on your car and you ended up getting in an accident? Or what if they were working on your house or your roof and a worker got hurt in some manner? YOU would then be held responsible for these unlicensed and uninsured workers.

                        It has actually happened where the homeowner gets sued by the Craigslist contractor or worker that they’ve hired because they got hurt on the job and they were not covered by their own insurance. You can be held liable for a lot of money.

                        Why You Should Hire a Licensed and Insured Contractor?

                        There are a few things you should be aware of before you hire a contractor and begin a home renovation project. As a homeowner you are liable for any unlicensed or uninsured contractor that gets hurt at your home. You are liable for everyone who works on or provides material for your job and does get paid. You are also liable for any damage done to the city or county property as well as any environmental damage. This is why it is important to understand what “Licensed” and “Insured” means and why it’s important when hiring a contractor.

                        About Licensed Contractors

                        Hiring a licensed contractor offers many extra protections to the homeowner. A contractor cannot acquire a license without possessing a minimum amount of experience and must pass a business and law exam. The applicant will also have a criminal history background check, and must not have any unresolved contracting complaints outstanding. The state of Florida requires both residential and commercial builders and contractors to be licensed. There are separate licensing requirements for residential contractors, mechanical contractors, and general contractors. All are licensed through the Florida Construction Industry Licensing Board (CILB), which also requires licenses be kept current. You can confirm a license is legitimate and current by visiting www.myfloridalicense.com. (Select “Verify a license,” and then search by license number or contractor name) The CILB also administers the Florida Homeowners’ Construction Recovery Fund. If you lose money on a project performed under contract where the loss results from specified violations of Florida law by a licensed contractor, you might be eligible for payment from this fund. (If you choose an unlicensed contractor at your home or business, you have no rights under the statute that created this fund) Should you experience the above problems with licensed contractor, you as a residential property owner have significant protections not available to persons utilizing an unlicensed contractor. Among them is the ability to file a complaint against the contractor’s license, in most cases, for a period of two years from the date of occupancy or date the last work was performed. This is your guarantee should the workmanship be below standard or in violation of existing codes.

                        About Insured Contractors

                        If the contractor is not insured, you are at risk. There have been instances where companies claim to be licensed and insured, and it comes to light after an incident that they have a business license and auto insurance on their work vehicle. Neither offers the homeowner any protection in the case of an injury or damage to your property. While the license is issued by the state, the insurance is backed by an insurance carrier. Contact information for verification purposes is listed on the insurance certificate, as is the expiration date of the policy. There are two insurance types on which to focus when selecting a contractor, workers’ compensation insurance and general liability insurance.

                        Workers’ Compensation Insurance

                        Workers’ compensation insurance protects homeowners from liability for injuries incurred while workers are present at their homes. If somebody is injured working in your home and is not covered by a workers’ compensation policy, you might be responsible for their lost wages and medical costs.

                        General Liability Insurance

                        General liability insurance (GL) protects the homeowner from bodily injury, property damage or personal injury. In the event there would be damage or loss to a home or structure due to a contractor’s negligence, your homeowner’s property insurance won’t likely cover the damage. Most policies explicitly exclude damages caused by contractors. It would be necessary for the contractor’s general liability insurance to cover this damage.